Introduction
This deployment guide assumes that the end user has the appropriate level of permissions to access and add/remove apps from the root site collection’s App Catalog. If you do not have these levels of permissions, please contact your Office 365 tenant’s global administrator and ask for Root site collection Administrator access.
This guide is meant to cover the deployment process of SharePoint Framework (SPFx) WebParts on various environments. If you would like further assistance with using and configuring the individual SPFx WebParts, please see our documentation entitled “imDocShare WebParts – Power User Guide”. This guide does NOT cover installation and usage of the imDocShare Teams app. For more info about this, please request documentation specifically for the Teams App.
Note: SPFx WebParts are not compatible with on-premises SharePoint Server 2013, 2010, 2007 or 2003 versions. SPFx specifically requires the “Feature Pack 2” update that comes with SharePoint 2016. We provide a Visual WebPart sandbox solution package for on-premises SharePoint Server 2013 environment.
Site Collection Libraries MUST be able to host JSON and JS files or else deployment will fail. Any security measures that block Popups or iFrames must be turned off as our authentication uses these resources. There is an auth option for users who cannot turn off iFrame blocking, please see the auth section for more info.
Supported Browsers
Supported Browsers:
- Microsoft Edge
- Google Chrome (latest released version)
- Mozilla Firefox (latest released version plus immediate previous version)
- Apple Safari (latest released version)
- Internet Explorer 11 (limited support only. IE11 Protected Mode is not supported)
Not Supported Browsers:
- Internet Explorer 10
- Internet Explorer 9
- Internet Explorer 8
- Internet Explorer 7
- Internet Explorer 6
Deploy to App Catalog
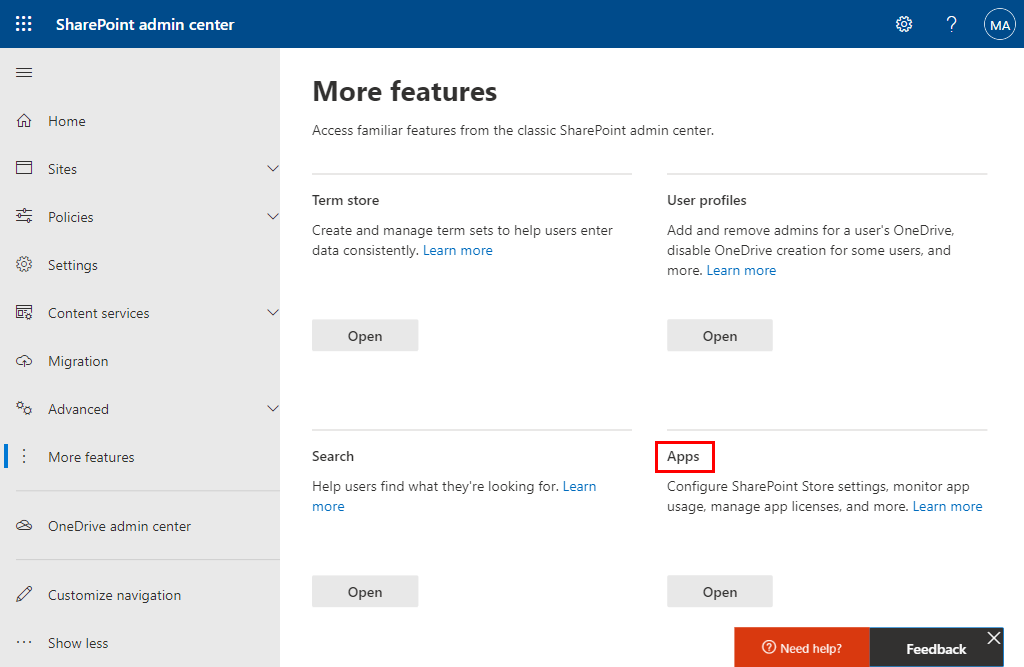
The SPFx framework uses SharePoint App Catalog as a container for deployment. Once you are logged in as an Admin user, navigate to the App Catalog of the site collection where you wish to deploy the WebParts. In the SharePoint Administrator center, click Classic features > Apps > App Catalog.
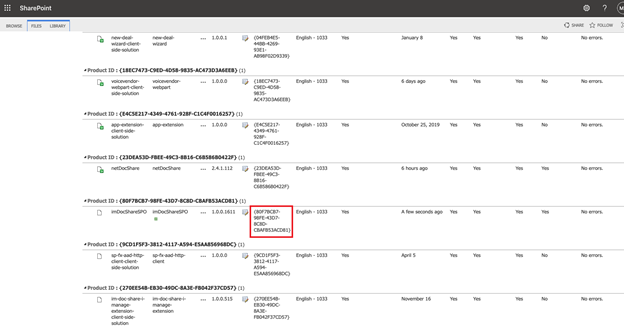
If your SharePoint site collection does not have an App Catalog, you will be guided through a process to create one. Please follow the instructions and create the appropriate App Catalog. This is required for the App to be deployed to the site collection. Once you have created and/or navigated to the location of the App Catalog, you should see a screen like this:
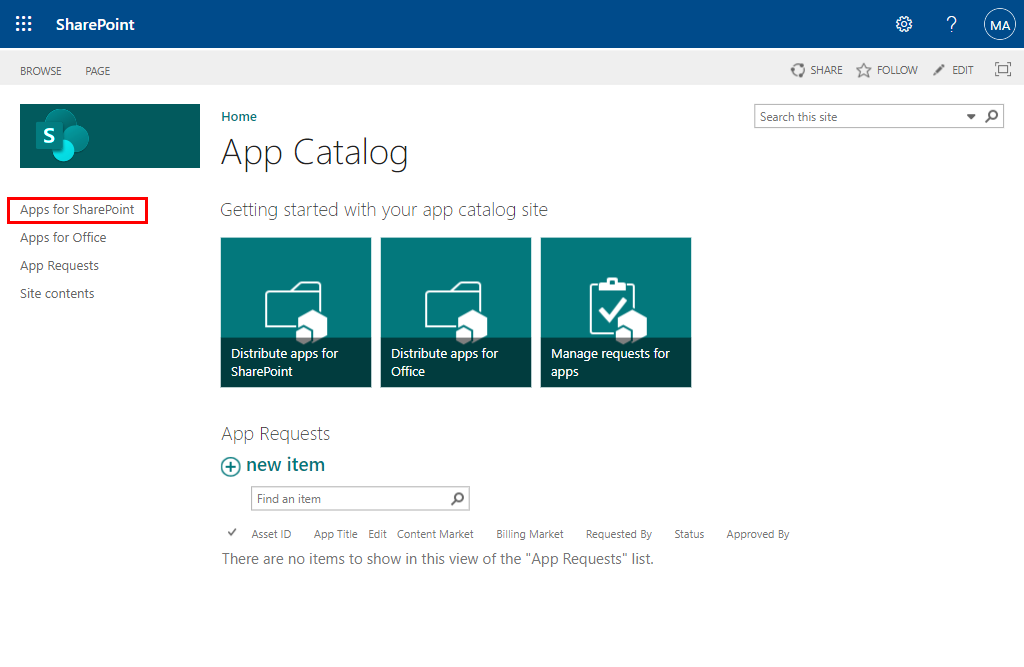
From here, click on Apps for SharePoint and click “Upload” to directly upload “imDocShare.sppkg” file.
All imDocShare assets should automatically be deployed into the same SharePoint location typically found here – https://{your-tenant-name}.SharePoint.com/sites/AppCatalog/ClientSideAssets/{WebPart GUID}
SharePoint On-Premises
For SharePoint On-Prem, instead of manually deploying to the app catalog, you will use a PowerShell script that will automatically deploy to the App Catalog and also deploy the required assets to the appropriate libraries. Please see the section entitled “Deploying on SharePoint On-Premises” for more information.
Deploying the App to SharePoint Online
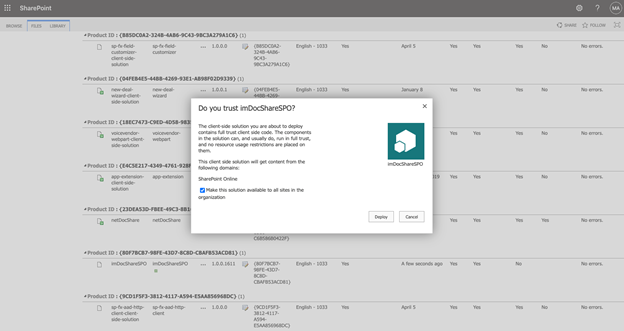
Note: Please check the box in the dialog above or else you will have to manually add the app to each site collection.
Eventually, the files will be stored in this location:
https://{your-tenant-name}.SharePoint.com/sites/AppCatalog/ClientSideAssets/{WebPart GUID}
Please note the location of your deployed assets folder. For SharePoint Online, this will often include the ID of the app. This ID will show up in the App Catalog’s list of apps after deploying the sppkg as in the screenshot above. This value needs to be used later when setting up webparts. It will be used in the config value named “assetPath”, which is required to retrieve static assets and also query licensing information. Your assetPath should look like
Adding WebParts on Modern Pages vs Classic Pages
While SPFx is meant to be compatible with both modern and classic pages, the experience might be slightly different for each one. Once “imDocShareSPO.sppkg” has been deployed, it is referred to as an “App” by SharePoint. You can now go to any page on the site collection and add this app to the site collection, which will, in turn, make the WebParts available for use in the insert WebPart menu.
Note: Make sure that the page created for the webpart is specifically a “webpart page” instead of “wiki page,” which is the default option. Clicking “new” to create a new page will default to wiki page.
Modern Page – Adding the App
Modern Page – Adding imDocShare WebParts
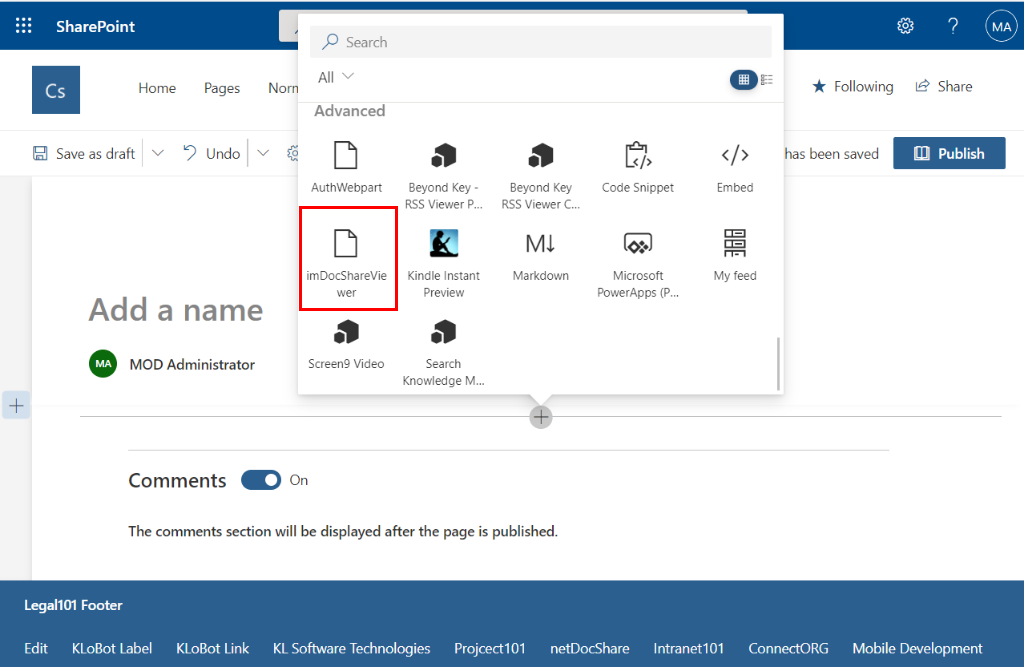
Create a new site page or navigate to the page you want to add the WebPart. Upon entry, you should already be in “edit” mode. Click the + button to add a new WebPart to the page.
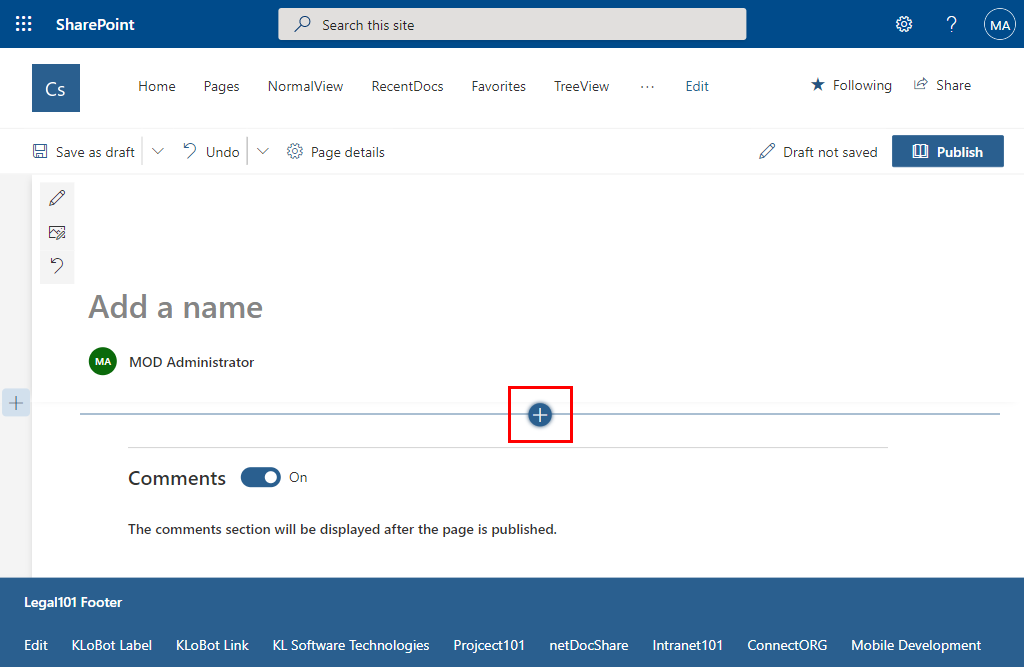
There should be a dropdown menu that opens and should contain the WebPart that you have added to the site via Apps
Classic Page – Adding the imDocShare WebParts
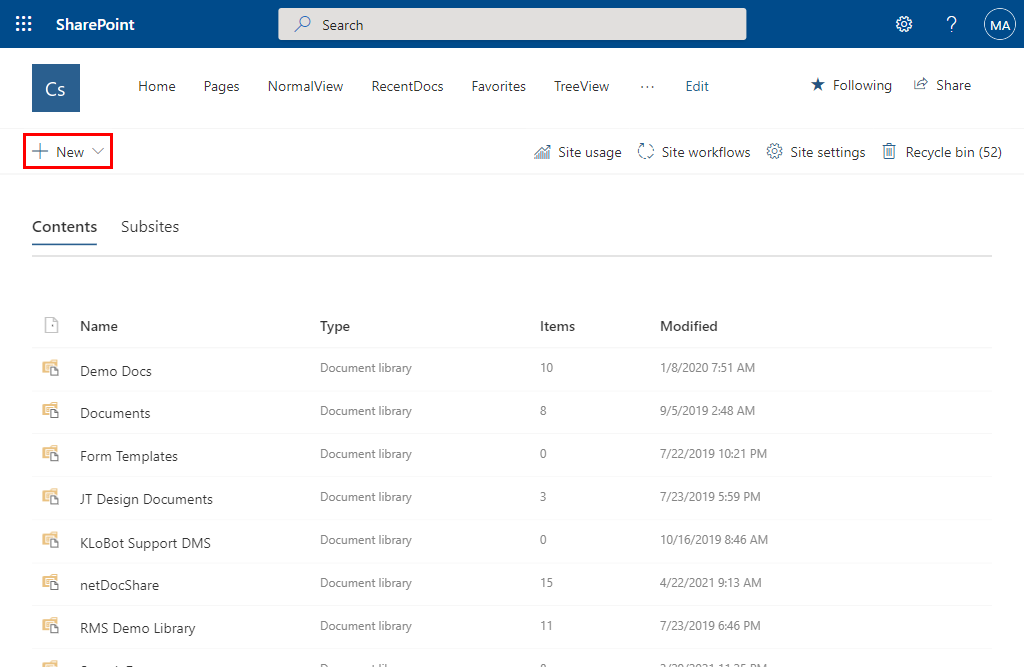
Navigate to your site’s Site Contents page and click the “add an app” button
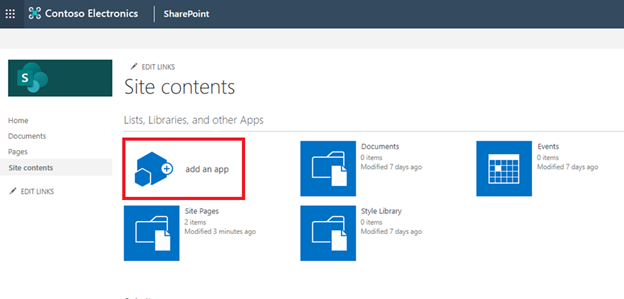
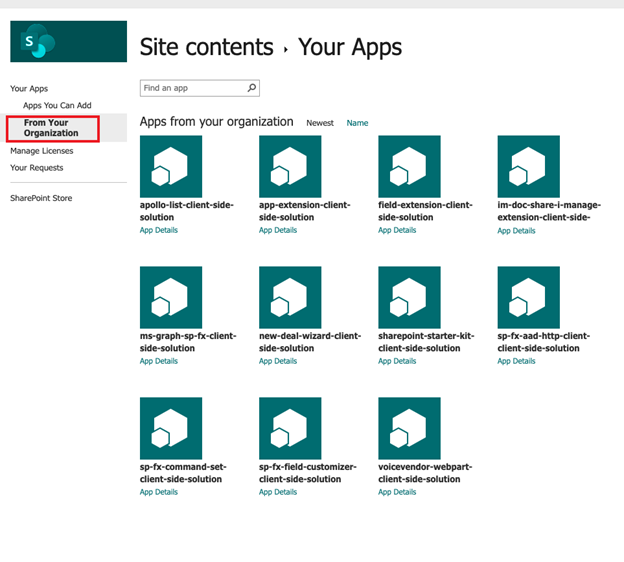
From here, you will navigate to a page that looks the same as the modern version, choose “From Your Organization” and look for your app on this list. Add the app and your SPFx WebParts should become available once you try to add them to a site page.
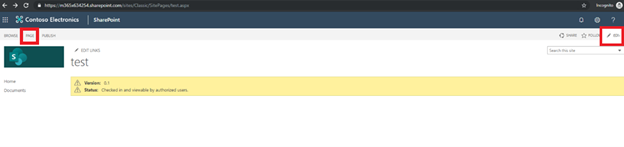
Create a new site page or navigate to the page you want to add the WebPart. Click on the “Edit” button on the top right or open the page ribbon by clicking the “Page” button on the top left and choose the first tile “Edit”.
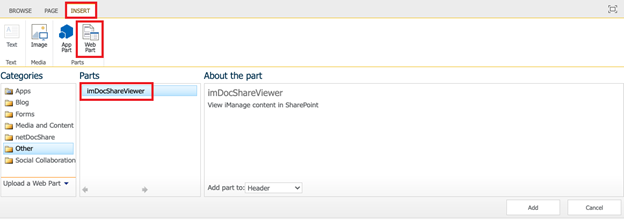
Once you are in edit mode, now there should be a tab named “Insert” on the ribbon. Click on it and choose to add a “WebPart”
Deploying on SharePoint On-Premises
Deploying to an On-Prem environment means that you must pay close attention to SharePoint Server versions to ensure compatibility. imDocShare SPFx WebParts can only be configured for on-premises SharePoint Server 2016 or 2019 and for SharePoint Online. For on-premises SharePoint Server 2016/2019, the update called “Feature Pack 2” must be installed on the SharePoint Server in order for the site collection to recognize and validate the “imDocShare.sppkg” file that we are deploying. Here are the general guidelines on compatibilities between the SharePoint version and what SPFx version should be used:
SharePoint Online: Can use latest SPFx version
SharePoint 2019 On-Prem: Use SPFx version 1.4.1 or earlier
SharePoint 2016 On-Prem: Use SPFx version 1.1.0
SharePoint 2013 On-Prem: Please contact us for a Visual WebPart Farm Solution
Once the SharePoint Server farm is configured to enable app deployment and usage, the process to add the SPFx WebParts project should be like deploying in SharePoint Online. If your SharePoint Server does not have apps enabled, ensure all pre-requisites are completed before any apps like imDocShare is deployed.
Note: Site Collection Libraries MUST be able to host JSON and js files or else deployment will fail. Any security measures that block Popups or iFrames must be turned off as our authentication uses these resources.
Pre-Requisite for iManage on-Premises Server
If your iManage Work server is open to public access and or using the iManage cloud implementation, this section can be skipped. However, servers which are NOT accessible through public internet must fulfill an additional pre-requisite: installation of our imDocShare proxy service through Azure App services.
This is required because our app uses a public service application to:
- Authenticate with the iManage server
- Send and receive queries to the iManage API server
If the server is not accessible to our public service (e.g. inside a private network or behind private firewalls) then imDocShare will not be able to retrieve the content you wish to see.
Our solution to this issue is to install a proxy service in your environment which will redirect to our app service. Clients who have specified that they are using On-Premises iManage server will be provided with a package and documentation to install this service app. The service app must be deployed either as an Azure app service or as an IIS site or app. Please see our “imDocShare On-Prem Proxy Service Installation Guide” to complete this process. If you have not received this info, please contact [email protected] in order to receive these essential components.
Setting up your SharePoint Server Environment to Enable Apps
There may be several blockers that affect whether your users can add apps to a site collection or not. Please contact your SharePoint farm administrator to troubleshoot these points if you are having issues but here are a few helpful tips:
Installing the App into your App Catalog

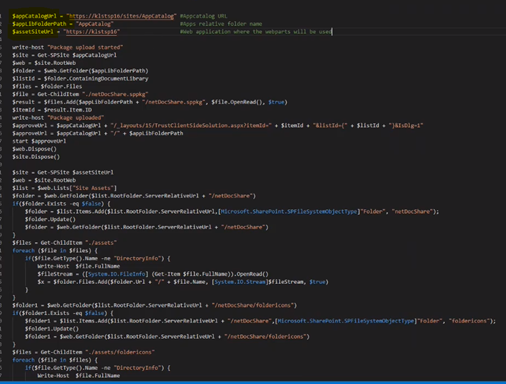
$appCatalogUrl = “https://klstsp16/sites/AppCatalog“
$appLibFolderPath = “AppCatalog”
$assetSiteUrl = “https://klstsp16“
Manual Deploy
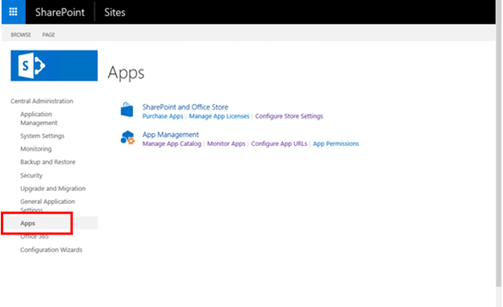
Go to “start” on your computer to open your SharePoint Central Administration Page
Navigate to Apps > Manage App Catalog.
Make sure that the correct site collection name is selected in “web application”, on the top right of the page
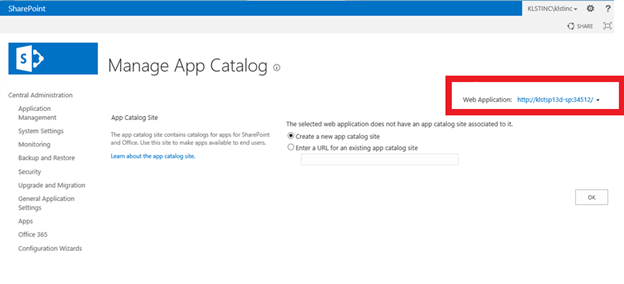
If your site collection does not already have an App Catalog, pick the option to create a new app catalog site. Once you have filled in the form to create the App Catalog, navigate to it and you should arrive at a familiar page:
Click on “Apps for SharePoint” and add a new document to this list. Select “imDocShare.sppkg” file and upload it. Now, your new WebParts should be available to use for any user in this site collection.
Adding the WebParts
Note: Make sure that the page created for the webpart is specifically a “webpart page” instead of “wiki page,” which is the default option. Clicking “new” to create a new page will default to wiki page.
Please note: the names and functionalities of webparts may vary depending on the version of imDocShare. For example, on SharePoint On-Premises 2016, instead of differently named webparts, there is a single universal webpart named “imDocShareViewer” which can be converted to all other webparts using configuration.
Navigate to the site collection where you would like to use the Web parts
Navigate to Site Contents and choose “Add an app”.
The app that you added through the admin deployment should be available here. Click on it to add it to Site Contents. *Note: Adding the app should be a similar process to SharePoint Online for Classic pages.
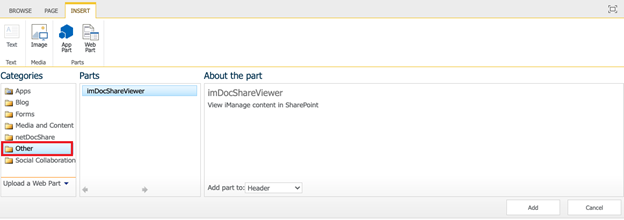
Now navigate to the page where you want to add the webpart and click “Edit”.
Click within the box you would like to add the webpart to and click “Insert” and “Web Part”.
imDocShare WebParts should appear under the “Other” folder in categories, unless you have specified some other way of populating the WebPart.
Asset Deployment for SharePoint On-Premises
We are providing a convenient PowerShell script for users to install their sppkg and assets. This install script will come together with the deployment package and offers a single solution for multiple environment types.
For SharePoint Online, assets are generally automatically deployed unless there is an irregularity in how the App Catalog is structured. Please see the final note in the “Deploying to SharePoint Online section.” For On-Premises SharePoint environments, asset deployment works a bit differently.
Manual Deploy For SPFx 1.1.0 (SP 2016 on Prem)
For Users who would prefer to manually deploy assets after deploying “imDocShare.sppkg” to the App Catalog, please follow the instructions below.
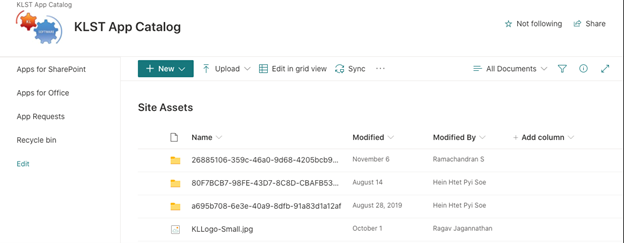
Using the Site Assets library is generally recommended as it is common among all site collections.
Now, you must create this directory and populate it with the assets that the WebPart needs to function. Its recommended to create a folder named “imDocShare” in order to keep different app assets separate
Copy any applicable Json and JS files required to load the WebPart.
Also copy any static assets such as icons or fonts into this folder. It should look something like this:
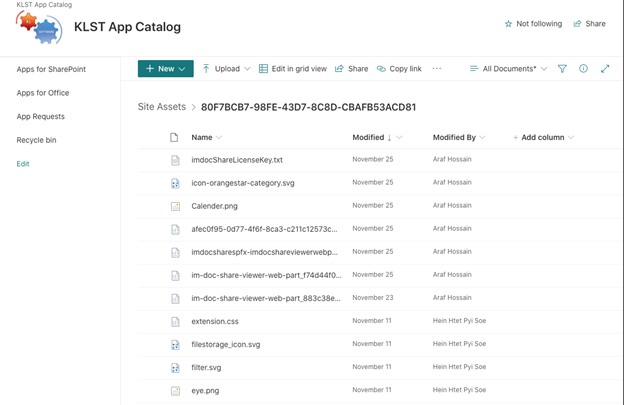
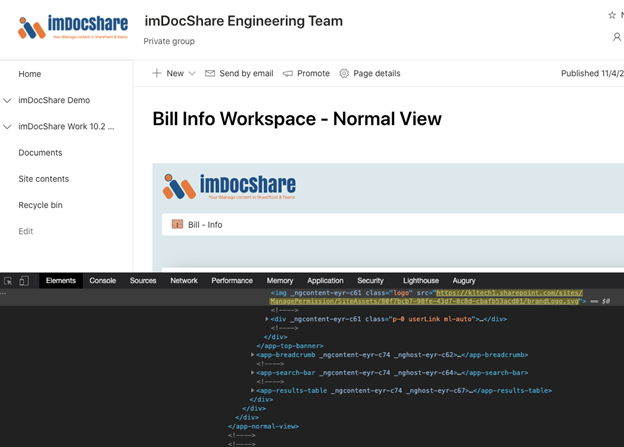
Finally, you can see that we have created this directory in the Site Collection’s “Site Assets” library within a folder we created called “imDocShare”. In the image below, you can see our WebPart retrieving icons from this location in the highlighted src link.
In order to properly retrieve these assets, a config value called “assetPath” must be included in each webpart config. Your assetPath should look like: https://{yourSharepointTenant}/SiteAssets/imDocShare/folderIcons/
This path must point to the location where your JS files and static assets have been deployed on SharePoint.
Uninstalling and Updating
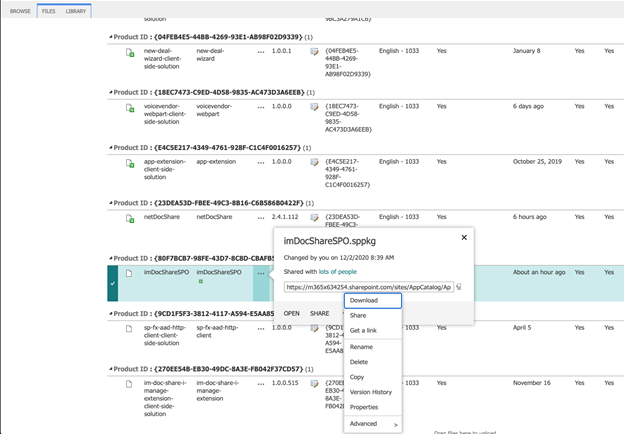
In this step, you are updating the sppkg file. This is one of the last steps in the deployment process. Here all you need to do is backup the current sppkg file if applicable, and then delete it. If backing up, all that is necessary is to download the current file using the context menu depicted in the figure below. Similarly, the delete option can also be found in the same context menu. Once that is complete, click the “upload’ button towards the top of the screen, and pick your newly created .sppkg file.
Configuring imDocShare WebParts
Whether you are deploying to a modern page (SPO) or classic page (SPO) on SharePoint Online or SharePoint Server 2016/2019 on-Premises, the WebPart configuration process should remain the same. When you have added a WebPart in “Edit Mode”, each WebPart will have a small individual “Edit web part” button either on the top right-hand side or top left-hand side. Clicking this button will open a panel on the right side of the screen where you can input configurations.
Note: Make sure that the page created for the webpart is specifically a “webpart page” instead of “wiki page,” which is the default option. Clicking “new” to create a new page will default to wiki page. Using imDocShare webparts on a wiki page is generally supported but may result in unexpected behavior in some situations.
For Modern Pages
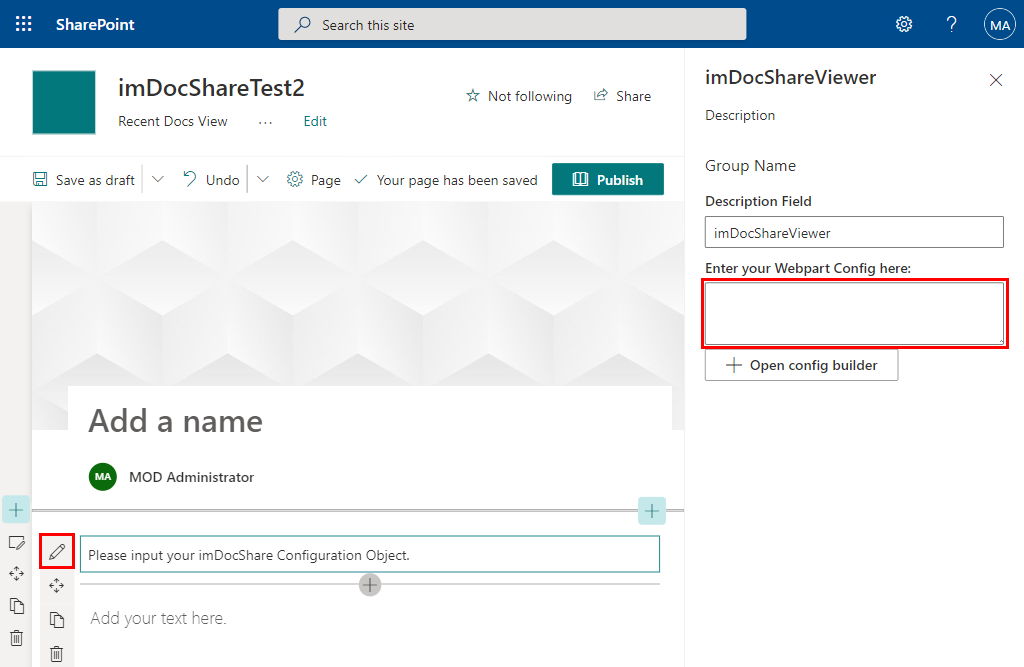
Modern pages have a special functionality which will automatically open the config builder in a popup window and import all existing settings to edit.
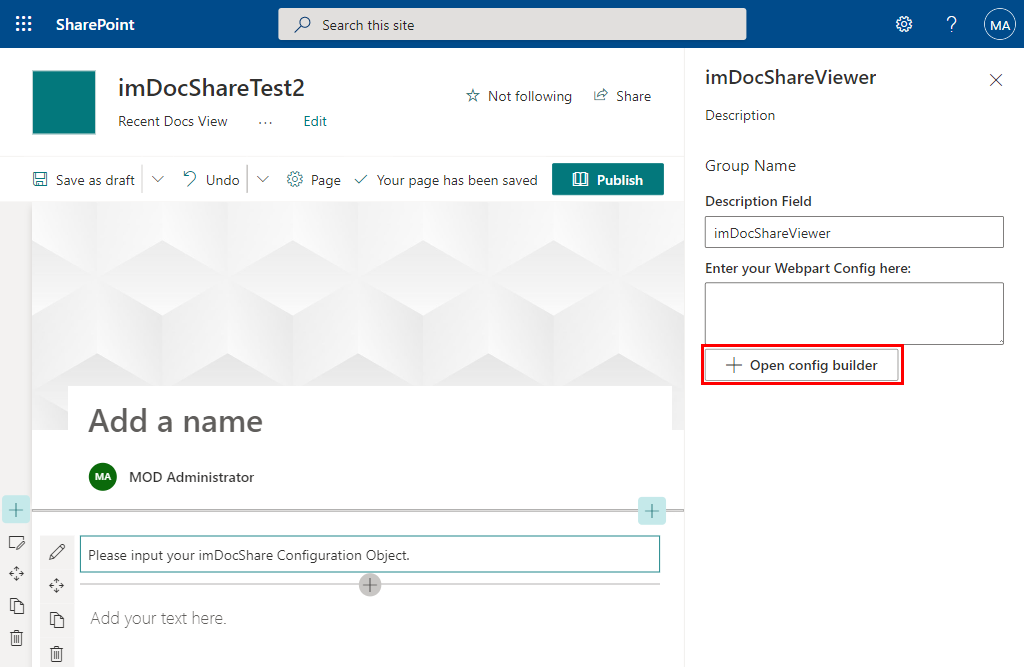
Clicking “Open config builder” will open a popup window in which you currently existing settings will be automatically imported for you to edit and update.
For Classic Pages
For classic, make sure to find the ribbon on the top and click Page > “Edit” to activate edit mode. Then find the individual dropdown menu on the top right of each WebPart:
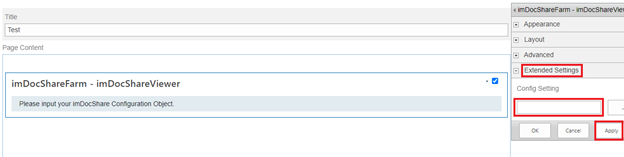
Classic Mode does not support the popup config builder at the moment, so it is useful to create a new page just for the config builder. Here is the most simple config to create a config builder webpart:
{“viewType”: “createConfig”, “assetPath”: “/siteAssets/imDocShare/folderIcons”}
Once this config builder page has been created, it can be used to create all other configs.
Configuring imDocShare WebPart Settings
Different imDocShare WebParts have many different properties/settings that can be configured easily by using the imDocShare JSON Config Editor. You can enter your desired configs into the editor, and it will generate a piece of text that you can copy/paste into the WebPart JSON Settings. To see a list of all supported properties and related values refer to the document “IManage SPFx WebParts User Guide”.
Updating your Deployment Package
Note: Site Collection Libraries MUST be able to host JSON and js files or else deployment will fail. Any security measures that block Popups or iFrames must be turned off as our authentication uses these resources.
Occasionally, we may provide an update package that improves functionality or adds new features to the imDocShare product. In this case, users will need to deploy the new sppkg file using the steps below. Note that this process should not disturb webparts that have already been set up using our previous build.
SharePoint Online
Simply delete the previous .sppkg file from your App Catalog’s list of apps. And then upload the newest sppkg that we have provided. No other action needs to be taken. The update will apply immediately to all webparts created using imDocShare. During the time when the sppkg is deleted, users will not be able to use the webparts. Please ensure that you have backed up the previous sppkg file before deleting in case any errors or issues occur. It may take SharePoint Online 1-5 minutes to update all the assets on the server side.
SharePoint On Prem
After receiving our deploy package, please go through the same process found in the section entitled “Deploying to SharePoint On-Premises”. As a summary:
Please be aware that there may be invisible webparts on existing page webpart pages. These invisible web parts are created when a user does not finish the set-up process of a new webpart. This may cause authorization issues because invisible webparts are also loading code. You can delete these webparts by navigating to Site contents > Site Pages, and click on the page that you wish to check. Once there, go to properties, and click the link “open webpart page in maintenance view”.